Max Terpstra
work
about
contact
Graduation process
Here is an overview of what the process of my graduation has been, from start till the end I'll try and keep a visual log with some notes here. You are able as spectator to follow the step by step process of creating a tool.
The full log can be accessed by clicking the link in the top right.
Tool .1 in use on an everyday object (stool)
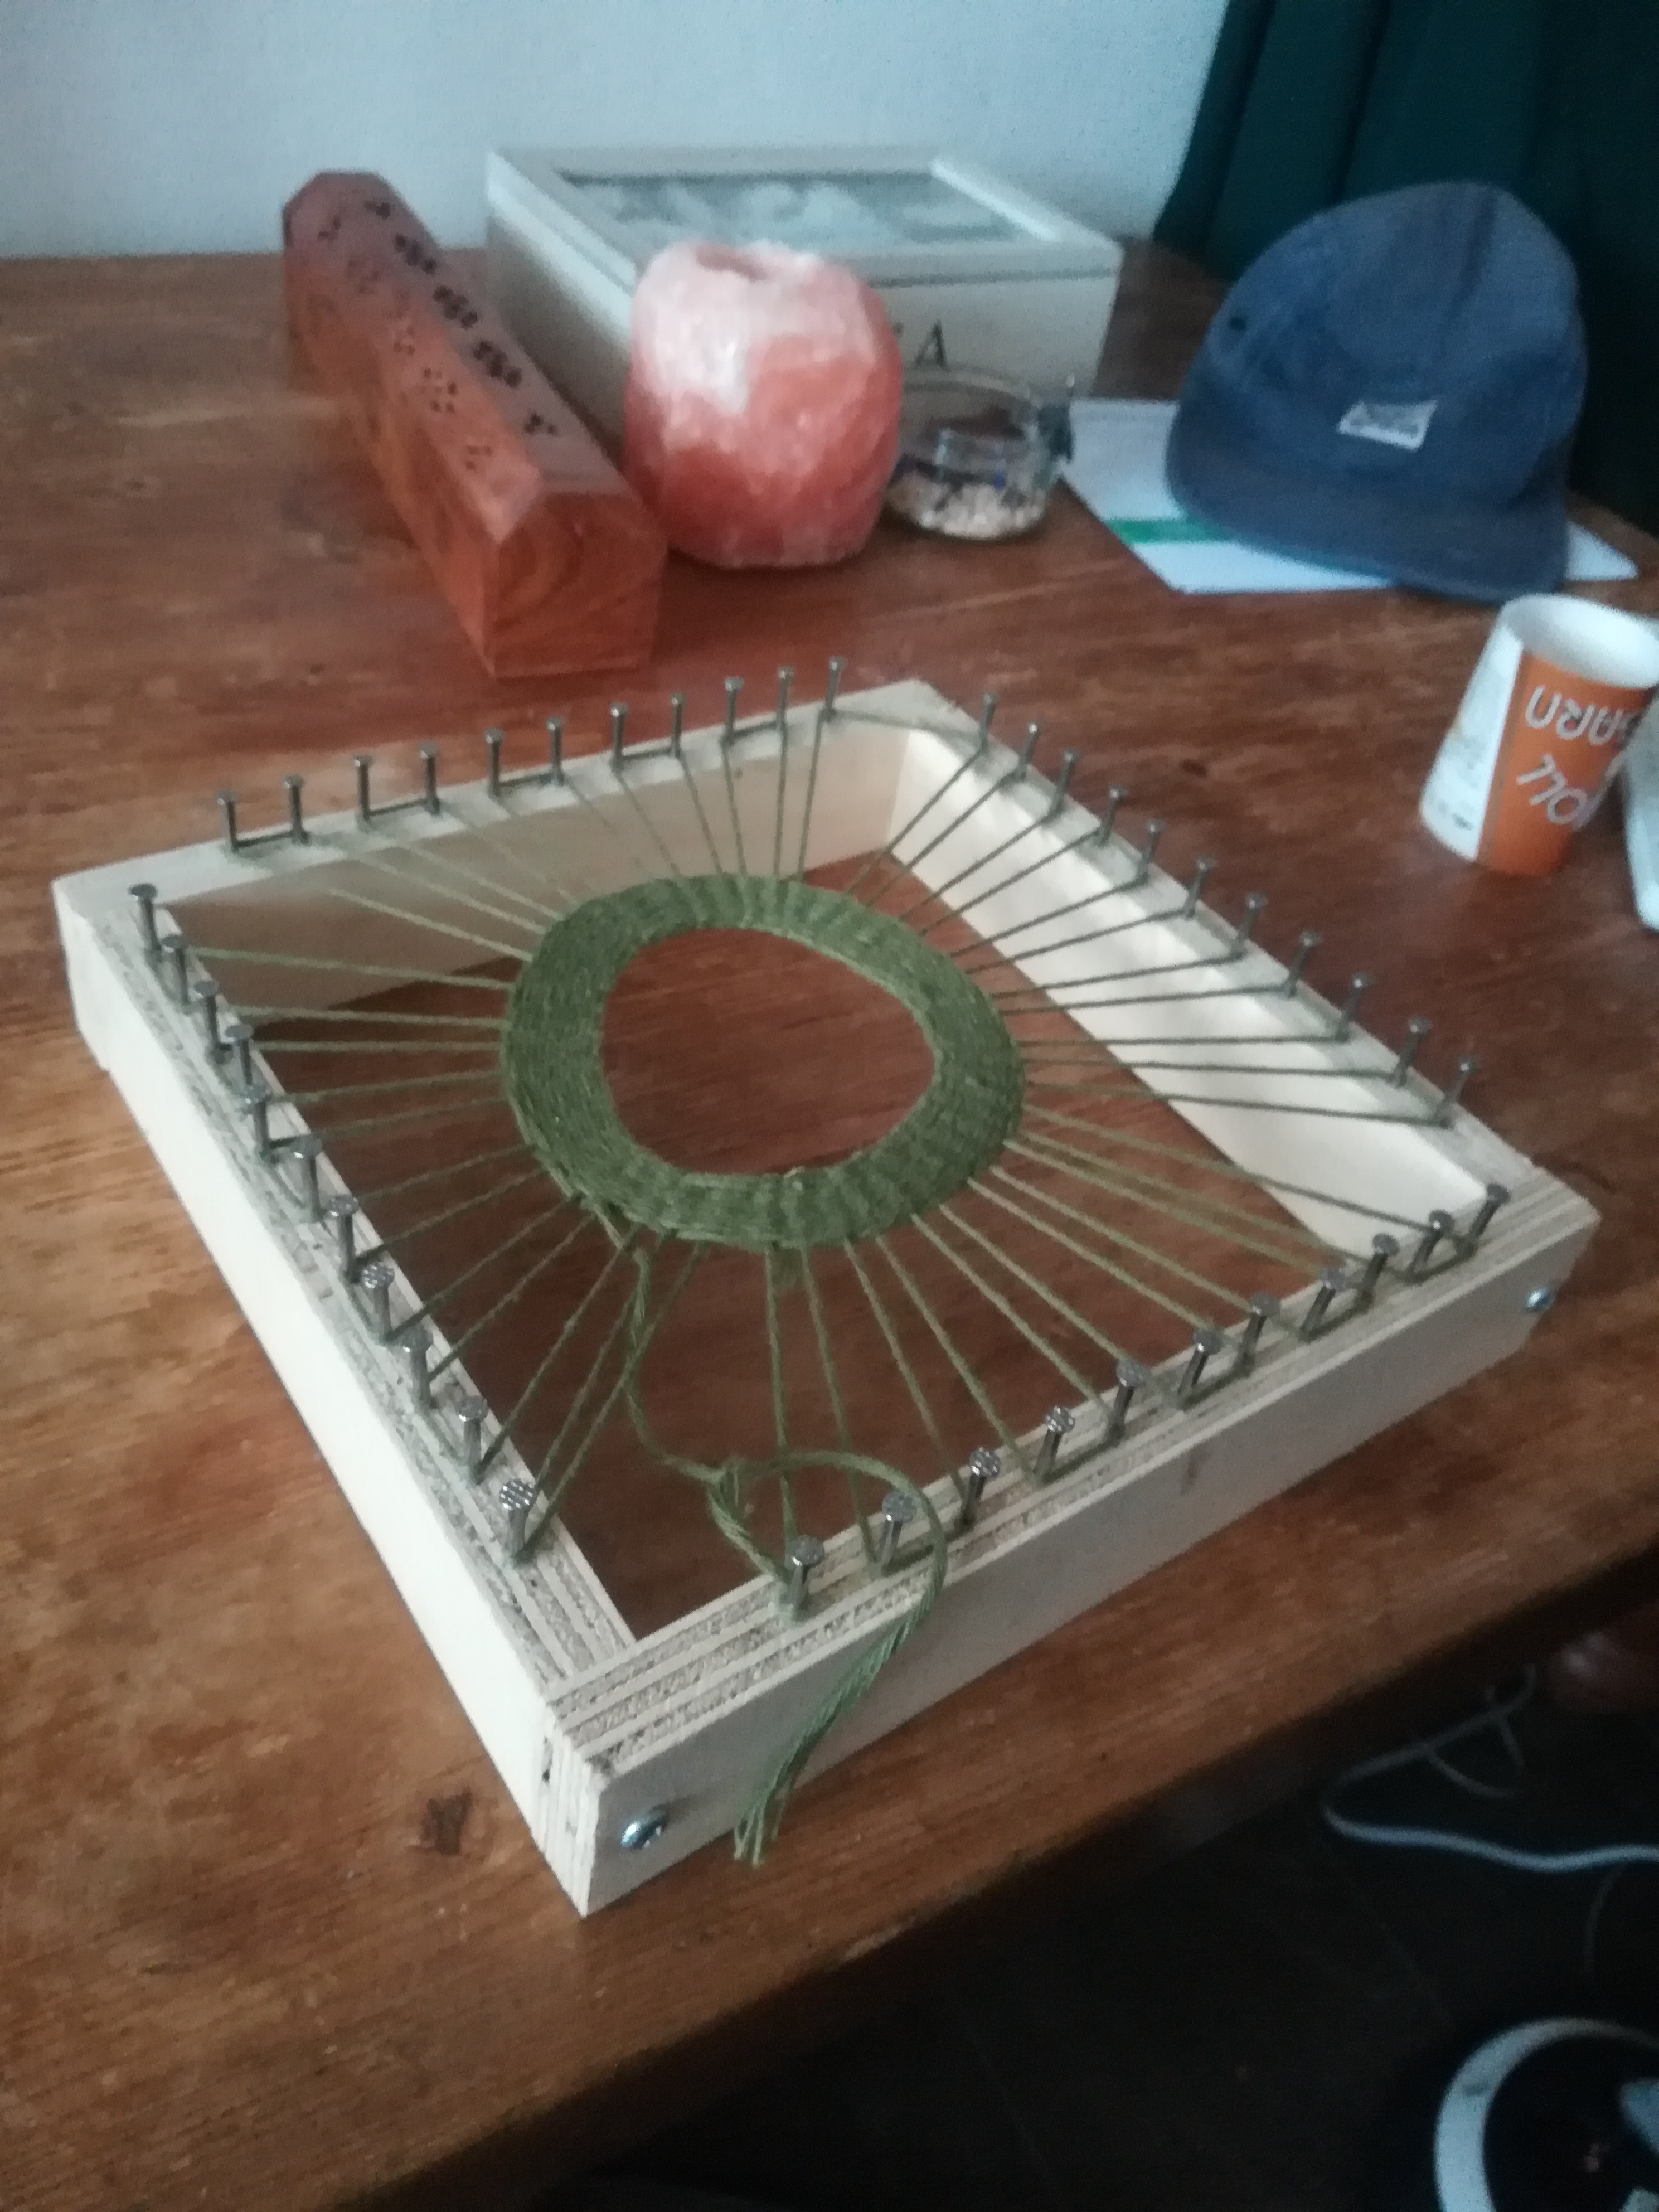
Tool .1 in use on a frame fitted for it's strechbars
Scan of a sketch based for the first tool.
Mark the title where it says Tool IIB, this was done before the decision of completely focusing on weaving.
Me operating the tool. Here you can clearly see there are some pro's and cons.
Pro's:
The process is very slow and thus easy to operate due to it's primitive and practical usage.
It makes it easy to learn the basics of weaving.
The height of the threads is perfect to pass the shuttle through
Cons:
But because it's very slow process it takes a lot of time, and the height of the machine is too low, so it's bad for my back.
Because it's very primitive I have to personally move the threads up and down for the weft to go through.
I'm also thinking about the materials i'm using for my tools. With my mind set on building my own tools, the thought of picking and choosing my materials are an important factor in the process.
The materials i'm using are mainly, if not always, found wood and left-overs. No materials, only some small parts have been bought in case it was hard to build, like screws for example, these are not producible in this stage, but maybe later on.
With using leftovers i'm basically re-arranging these objects into a new form, not entirely creating something new, but puzzling. I can use this rearranged object to create.
Left over wood found in school that was not in use
TOOL 1
TOOL 1B
The quallity of the wood is actually really good, and thus in my mind adding more value to the tools
Process log (link)
TOOL 2
MATERIAL
A short video showing how the heddle and loom should operate. Whilst using one of your feet you can push down a bar that is attached to the heddle, during that process the other bar is getting lifted and available to be pushed down for the heddle to move down
The next step included mounting a heddle. A part of the heddle had to be laser cut due to the fact that all the holes that had to be made where to small to do by hand.
A winding system is also added so the length of the weft could vary, and isn't at a set length.
Paddle have been attached to operate the heddle by foot, this eliminates the need to move the heddle by hand, by doesn't exclude it. The need to raise all the individual threads is replaced by a system which does it all at ones
First part was mainly focused on building a frame for the loom. The form is very basic and based on the height of me sitting down at a chair of 50cm.
Inspiration taken/ or one could say a copy of the frame used by famous weaver Sheila Hicks.
Here nails are hammered into a frame where the fabric can be stretched around.
The heddle has 3 slots per cm, this means it will lift all even numbered threads and leave all uneven threads.
And because the heddle will move above and underneath the weft, the thread will pass above and under the fixed thread.
Sketch showing the uneven heddle slots moving. The horizontal line suggests the woven thread, which moves above and underneath the even heddle slots which are fixed.
The small sketch underneath this image shows how the vertical threads move up and down in comparison to the fixed threads.
First sketch of tool 2, alongside with notes added at a stage during the building of the tool
Finished tool!
The paddles have been moved to the different side, this way it's more stable. Small screws with loops have also been attached to the tool so the thread to lift the heddle will run smoother.
The updated version from the actual done tool. You can notice that the heddle runs much smoother due to the addition of the looped screws. Next to that the paddles are on the side of the operator, where you can now also rest your feet on.
Tool 2 located in the studio
The outcome of the tool finished and lying on the tool
TOOL 3
I've decided to change the appearance of my looms, and also the functionally. My decision to deviate from the standard models is because I am building a tool that is meant to be used by myself, and thus must listen to my own thoughts. The next tool will again be like the previous ones be an adaptation of their predecessors, but it's form and use will change drastically.
My attention was firstly based mainly on the speed and practical use of the tool, but the tools will then, become a product which it's not meant to be in the end, but has to be seen as an object that acts as a thing.
So the next tool will be mounted vertically, where one could stand behind and operate without sitting down. Like the first tool it will also be movable and adaptable to multiple places, because in my mind it's important for the tool to be changed to it's setting.
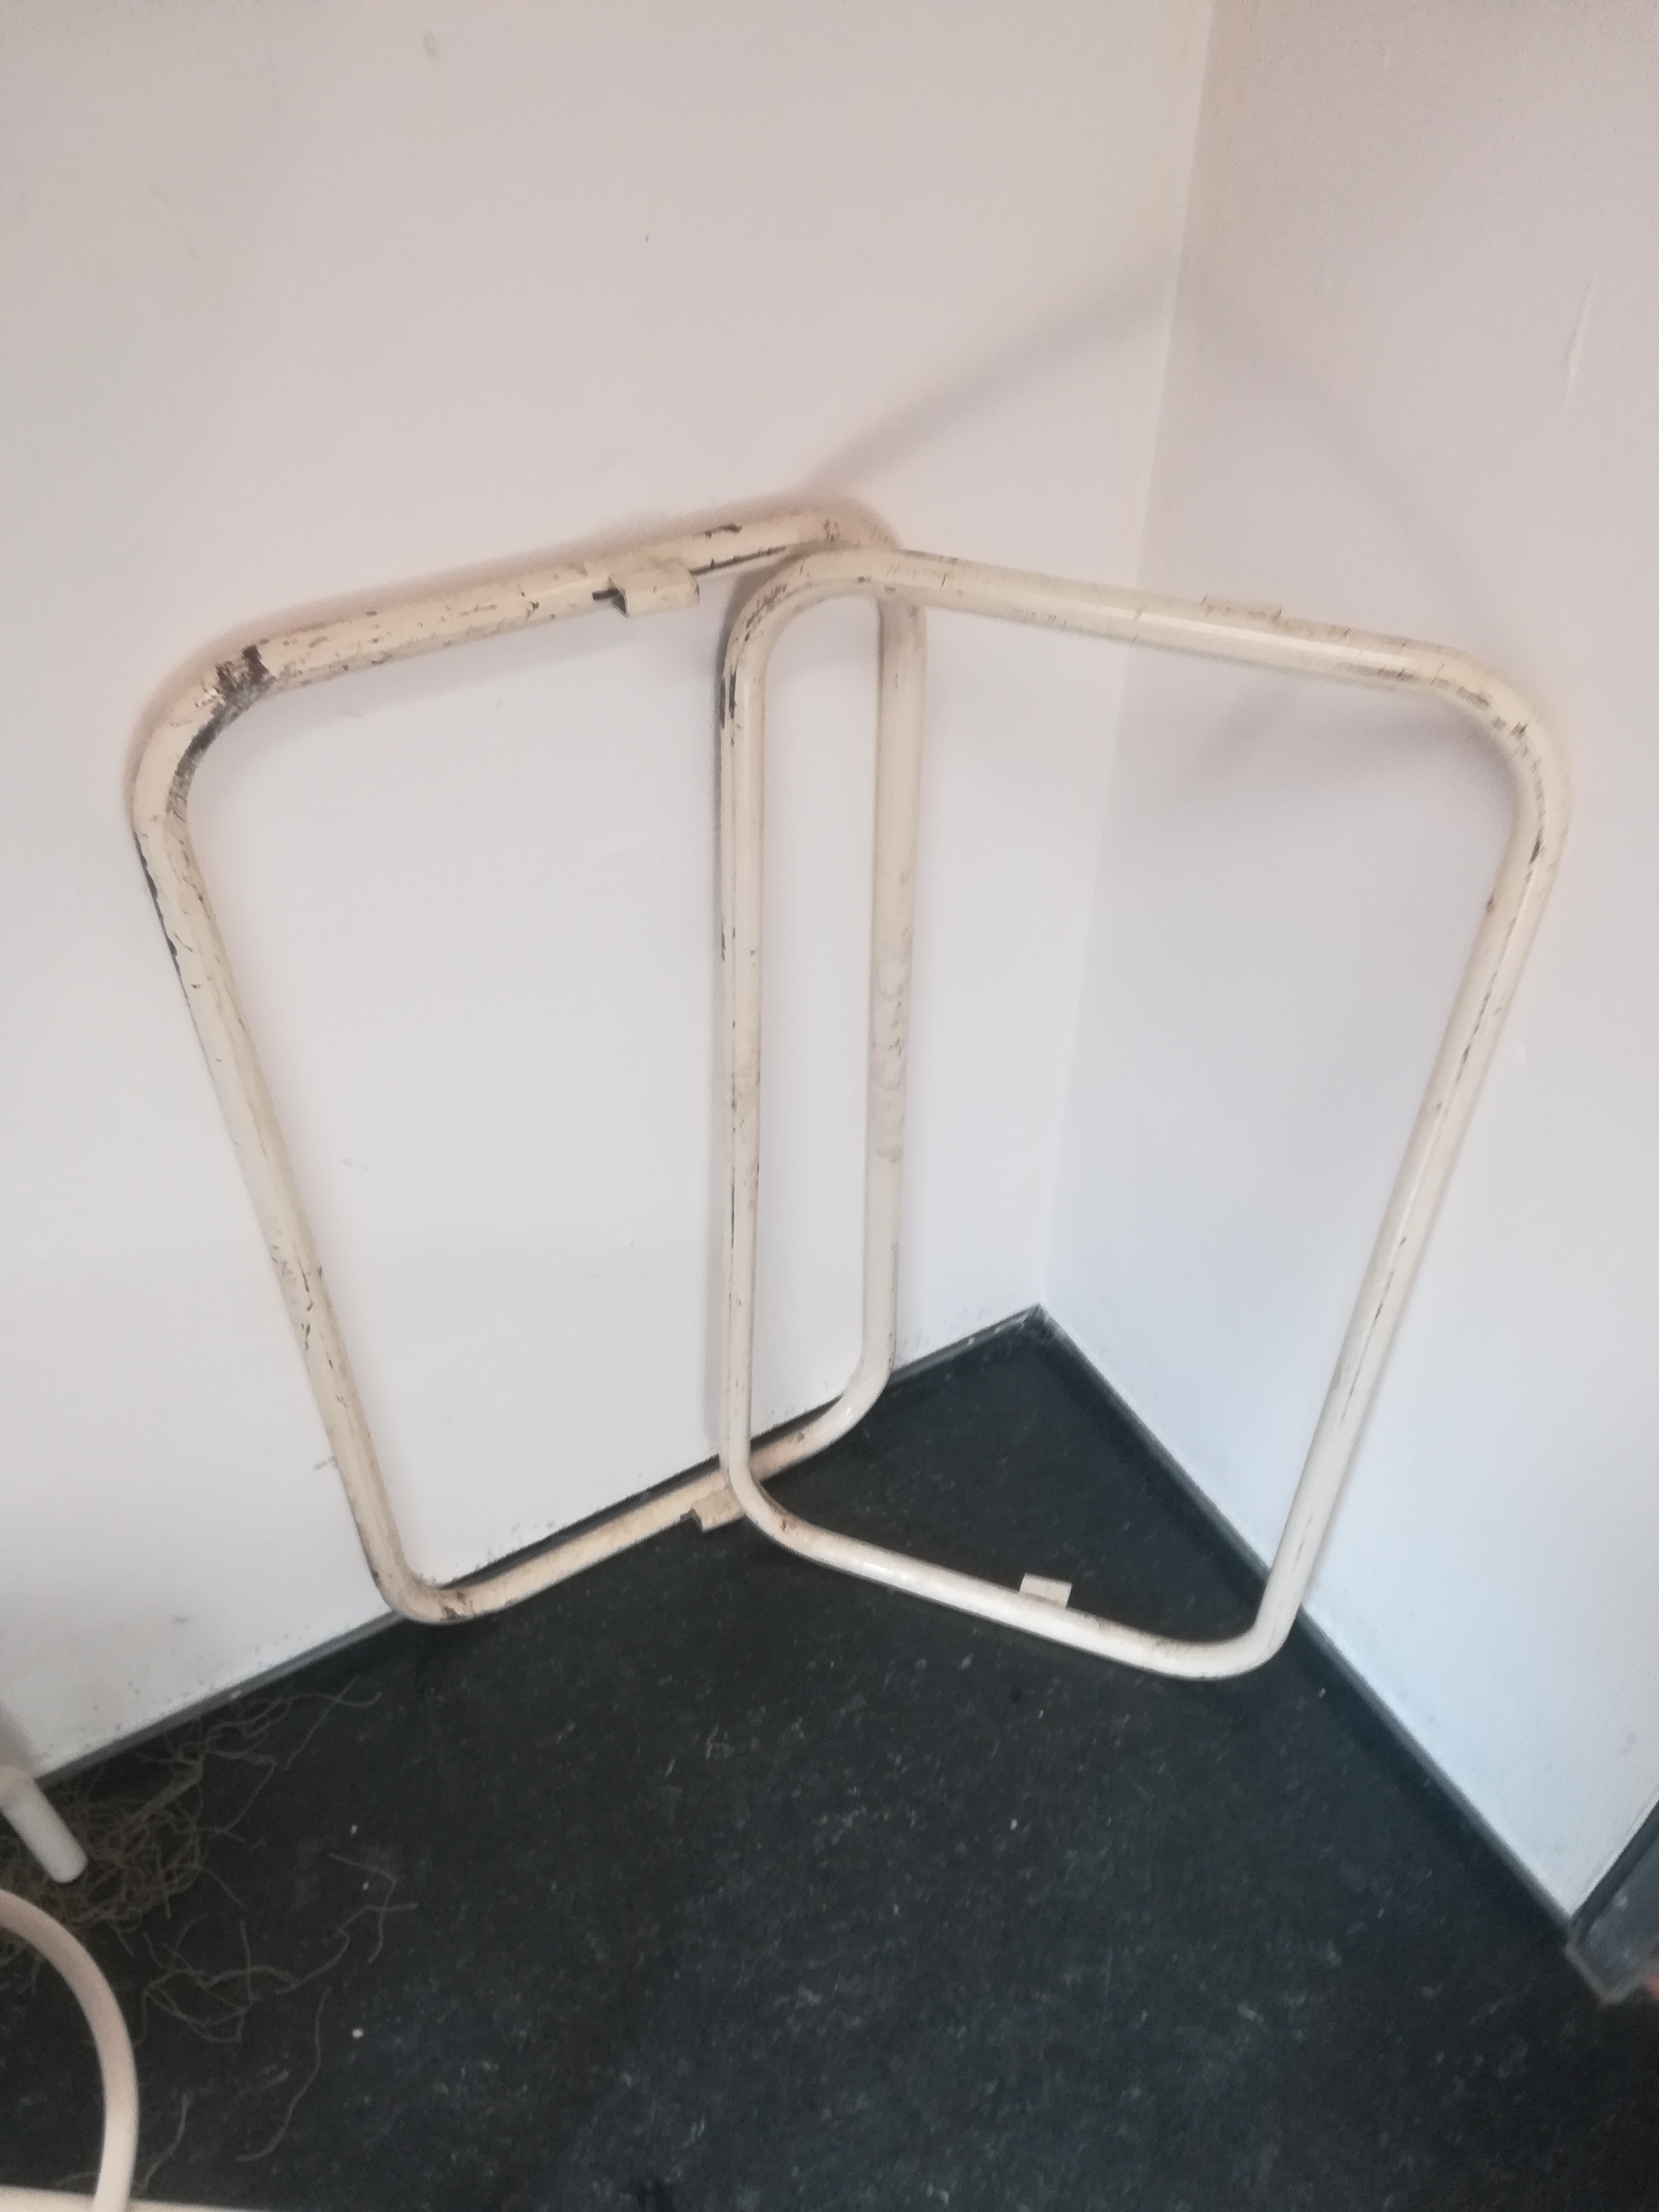
These sketches show the possibility to use the frames located at the academy to be used as support for the tool.
But if I make the choice to do that, I'll limit myself and the tool to be excluded from any other support
New sketches based on the two frames I found that I decided to be using for the support of the new tool. Also this time the tool will be constructed of more materials than just wood. This is not decisively done to point anything out, but merely because these shapes had the potential to be used in a tool and were able to be used and thus recycled into a new object, a new tool